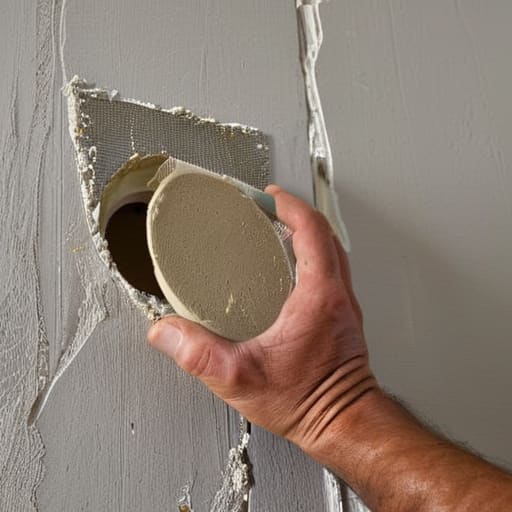

I was standing in a dimly lit studio in Bushwick last Tuesday, adjusting a vintage Leica lens—one of those heavy, beautiful pieces of glass that feels like it holds a century of secrets—when I noticed it: a jagged, unsightly puncture in the plaster right next to my backdrop. It felt like a sudden tear in a well-composed photograph, a distraction that broke the entire mood of the room. Most people think that learning how to repair a dry wall hole requires a massive renovation kit or a professional contractor’s ego, but that’s a lie. In reality, it’s much more like developing a film; it’s about patience, the right tools, and a steady hand to ensure the final result is seamless.
I’m not here to give you a textbook lecture or a list of overly complicated industrial supplies you’ll never use again. Instead, I want to walk you through a process that respects the integrity of your space. I’ll show you exactly how to repair a dry wall hole using a few honest, practical steps that prioritize texture and flow. By the time we’re done, that blemish will be nothing more than a ghost of a memory, leaving your walls as smooth and intentional as a perfectly exposed frame.
Guide Overview
Tools & Supplies
- Putty knife for spreading compound
- Sanding sponge for smoothing surfaces
- Utility knife for trimming edges
- Spackling compound (small tub)
- Adhesive wall patch or mesh tape (1 pack)
- Sandpaper (fine grit)
Step-by-Step Instructions
- 1. Before you even touch the compound, you have to prepare the site. Take a utility knife and carefully trim away any loose, jagged bits of paper or crumbling gypsum that are sticking out around the edges of the hole. It’s a bit like clearing the frame before a shoot; if you leave those ragged edges, your repair will never sit flush, and the imperfection will haunt the wall long after you’re done.
- 2. If you’re dealing with a hole larger than a small puncture—something more like a wound in the architecture—you’ll need to bridge the gap with a mesh patch. Center the self-adhesive patch over the void and press it firmly into place. I like to think of this as the structural skeleton of your work; it provides the necessary tension to ensure the patch doesn’t sag when the weight of the compound is applied.
- 3. Now, grab your putty knife and a tub of lightweight joint compound. Start applying the compound in thin, sweeping motions across the patch. Don’t try to hide the hole in one heavy layer; instead, aim for a translucent veil of material that extends slightly beyond the edges of the patch. You want to feather the edges out so the transition from the repair to the original wall is almost imperceptible to the eye.
- 4. Once that first layer is on, you have to embrace the patience of a long exposure. Let the compound dry completely—usually a few hours, depending on the humidity in your studio. Once it’s set, take a fine-grit sanding sponge and lightly buff the area. You aren’t trying to grind the wall down; you’re simply smoothing the narrative until the bump disappears under your fingertips.
- 5. If you notice any tiny pits or divots after your first sanding, don’t panic. This is just part of the process. Apply a second, even thinner layer of compound—often called a “skim coat”—to fill those microscopic shadows. It’s the fine-tuning phase that separates a quick fix from a professional restoration, ensuring the surface is as seamless as a freshly painted gallery wall.
- 6. After the final layer has dried and been lightly sanded, it’s time for the final reveal. Wipe the area clean with a damp cloth to remove every trace of white dust. If you’re matching an existing color, a little bit of primer goes a long way in preventing the patch from looking like a dull, matte ghost against the rest of the room. It’s all about recovering the light and making the wall feel whole again.
The Essential Toolkit Selecting Wall Repair Tools and Materials
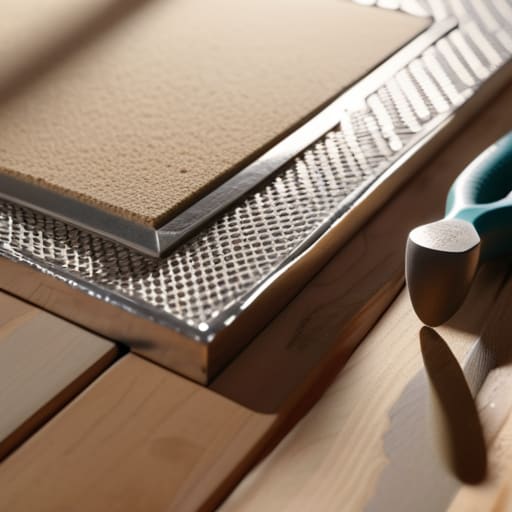
Before you dive into the repair, I like to think of gathering your gear as prepping a shot—you wouldn’t head into a decaying warehouse in Bushwick without the right focal length, after all. For minor scuffs or those inevitable dents from moving furniture, a simple drywall patch kit for small holes is your best friend; it keeps the chaos contained. However, if you’re dealing with something more substantial, you’ll want to step up to a proper set of wall repair tools and materials, specifically a high-quality putty knife and a sturdy sanding block.
There is a certain rhythm to the process that requires the right tactile feedback. If you are working on an older building, you might find yourself fixing holes in plaster walls rather than standard gypsum, which requires a much gentler touch and perhaps a bit more patience with your joint compound. I always keep a few vintage lenses on my desk to remind me that precision matters, whether you’re adjusting an aperture or perfecting a drywall mesh tape application. Choosing the right grit for your sandpaper is the difference between a seamless transition and a patch that screams for attention under the light.
Mastering the Art of How to Use Joint Compound
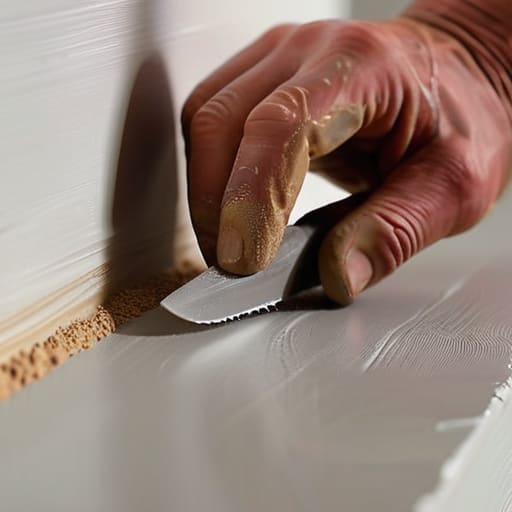
Applying the compound is where the repair truly begins to breathe, moving from a mere structural fix to something that feels integrated with the room. When you’re learning how to use joint compound, think of it less like construction and more like the way a painter layers glazes to create depth. You don’t want to just slap it on; you want to skim it across the surface. I often find myself staring at the way light hits a freshly troweled surface, much like the way a soft lens flare catches the edge of a crumbling brick in an abandoned warehouse. The goal is to keep your layers thin—almost translucent—to avoid the dreaded hump that ruins the visual continuity of your wall.
If you’re dealing with something more substantial than a nail prick, ensuring a solid drywall mesh tape application before the first coat is vital for stability. It acts as the skeleton for your work. As you spread the mud, aim for a feathered edge, pulling the material outward so the transition between the patch and the original surface becomes nearly imperceptible. It’s all about respecting the original plane of the wall to ensure the repair eventually disappears into the background.
The Fine Details: Small Gestures for a Seamless Finish
- Respect the light. Just like when I’m scouting a derelict warehouse for the perfect shot, shadows can hide a multitude of sins. Once your patch is dry, hold a flashlight at an angle against the wall; it’ll reveal any bumps or dips you missed, letting you know exactly where to sand a little more.
- Sanding is a dance, not a brawl. I’ve seen too many people try to force the texture back into existence with heavy-handed movements. Use a fine-grit sandpaper and move in light, circular motions—think of it like adjusting the focus on one of my vintage Leica lenses. You want a gradual transition, not a crater.
- Don’t rush the drying process. In my line of work, patience is everything, and drywall is no different. If you try to layer more compound over a damp patch, you’re just building a monument to failure. Let each layer breathe and harden completely; it’s better to do three thin, patient coats than one thick, messy one.
- The art of the “feathered edge.” To make the repair truly disappear, you have to blend the edges of your compound outward into the existing wall. You aren’t just filling a hole; you’re trying to trick the eye into believing the surface was always continuous. It’s about creating a gradient of texture.
- Match the soul of the wall. Once the physical repair is done, the color is what brings it home. Walls aren’t just “white”—they have history, slight discolorations, and varying sheens. If you just slap on a fresh coat of bright paint, your repair will stand out like a neon sign in a dark alley. Test a small patch first to ensure the new pigment honors the old.
The Final Layer: Beyond the Patch
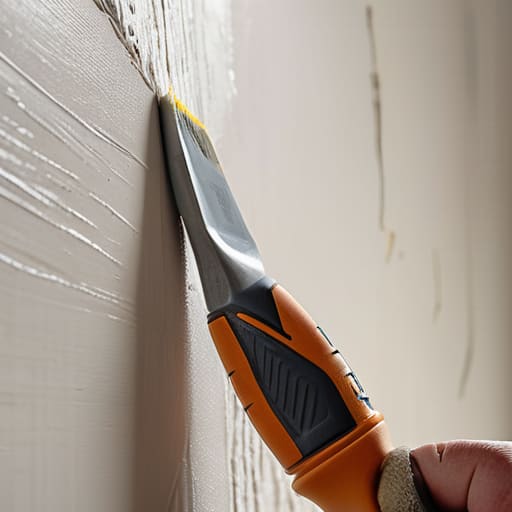
Taking a moment to step back and look at your work, you’ll see that the process is more than just a checklist. It’s about the patience you showed while waiting for that joint compound to dry, the precision required to select the right sanding grit, and the steady hand needed to smooth out those edges until they disappear. By respecting the texture of the wall and ensuring your tools were ready for the task, you haven’t just filled a gap; you have successfully restored the integrity of your space. Whether it was a small dent from a moving day or a larger puncture, the key was always in the preparation and the gradual, layered approach to the repair.
In my photography, I often find that the most beautiful images come from the places that show a little bit of wear—the cracks in the sidewalk or the peeling paint on a warehouse door. There is a certain dignity in things that have been lived in and mended. As you finish this repair and apply that final coat of paint, remember that you aren’t just hiding a mistake; you are participating in the ongoing life of your home. Every mend is a way of honoring the history of the walls that surround us, ensuring that the story of your space continues, uninterrupted and beautiful, for years to come.
Sometimes, when I’m deep into a project like this, the silence of a solitary repair job can feel a bit heavy, much like the stillness in an abandoned warehouse before the light shifts. I’ve found that keeping my mind engaged with something entirely different helps me maintain that steady hand needed for the delicate work of sanding. If you ever find yourself needing a bit of digital company or just a way to drift into a different world while your compound dries, exploring chat rooms in Wollongong can be a surprisingly effective way to break the isolation of a long afternoon of DIY. It’s all about finding that balance between the tactile work in front of you and the mental space you need to stay inspired.