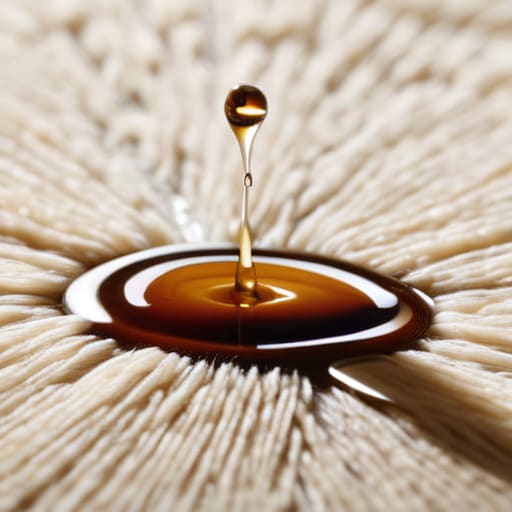

The red wine didn’t just hit the floor; it felt like a sudden, violent splash of crimson paint against a gray Brooklyn alleyway, marring the neutral tones of my studio rug just as I was setting up a shot. I stood there, frozen, watching the liquid seep into the fibers like a dark secret being told in real-time. We’ve all been told that a panicked scrub with a heavy brush is the way to go, but that’s a lie that only serves to embed the disaster deeper into the weave. If you’re currently staring down a mess and wondering how to remove stains from carpet without turning a small mishap into a permanent scar, you need to stop the frantic rubbing immediately.
I’m not here to sell you on expensive, chemical-heavy miracle cleaners that smell like a laboratory. Instead, I want to share the gritty, no-nonsense reality of salvaging your space using tools you likely already have in your kitchen cabinet. This guide is about tactical precision—learning how to blot, balance pH, and treat different textures with the same care I use when cleaning a vintage Leica lens. We’re going to strip away the hype and get straight to the practical methods that actually work.
Guide Overview
Tools & Supplies
- Microfiber cloths or white paper towels for blotting
- Soft-bristled brush for gentle agitation
- Spray bottle for applying solutions
- Dish soap (mild, non-bleach) 1 bottle
- White vinegar 1 bottle
- Baking soda 1 box
- Warm water 1 pitcher
Step-by-Step Instructions
- 1. The moment the spill happens, your first instinct might be to grab a cloth and start scrubbing, but stop right there. Scrubbing is the enemy; it pushes the pigment deeper into the fibers, much like how smudging a fresh print ruins the clarity of a shot. Instead, grab a clean, white microfiber cloth or a stack of paper towels and blot the area firmly. You want to lift the liquid upward, absorbing as much of the mess as possible without spreading the stain into the surrounding weave.
- 2. Once you’ve soaked up the initial flood, it’s time to assess the “texture” of the damage. If you’re dealing with something oily or greasy—maybe a bit of takeout dropped during a late-night editing session—sprinkle a generous amount of baking soda or cornstarch over the spot. Let it sit for at least twenty minutes; it acts like a silent sponge, drawing the oils out of the carpet fibers and into the powder.
- 3. For those stubborn, water-based stains—the coffee splashes or the juice spills that feel like they’ve claimed territory—you’ll need a gentle solution. Mix a few drops of clear, mild dish soap with a cup of lukewarm water. Avoid anything with heavy dyes or bleach, as you don’t want to introduce new colors to the scene. Dip a clean cloth into the mixture and dab the stain from the outside edges toward the center, preventing the perimeter from expanding.
- 4. If the stain is particularly defiant, like an old ink spill or a deep wine mark, you might need to call in the heavy hitters: white vinegar. Mix one part vinegar with two parts water to create a solution that cuts through the grime without being overly aggressive. Spray it lightly over the area and let it dwell for a few minutes, allowing the acidity to break down the molecular bond between the stain and your floor.
- 5. Now comes the part that requires patience, something I’ve learned through hours of waiting for the perfect light in a dark alley. After treating the spot, take a fresh, dry towel and apply heavy pressure to the area. You aren’t just wiping; you are physically forcing the moisture and the loosened particles up into the cloth. It’s a bit like developing a film—it requires a steady hand and a refusal to rush the process.
- 6. To finish the job and ensure no “ghost” of the stain remains once it dries, rinse the area with a small amount of plain, cold water. Blot it one last time to remove any soapy residue, which can actually attract more dirt later on. Set a heavy object, like one of my vintage Leica lens caps or a thick book, on top of a clean towel over the spot to help draw out every last bit of moisture.
- 7. Finally, let the carpet air dry completely. Avoid the temptation to walk on it or vacuum it while it’s still damp, as this can distort the pile and leave a permanent mark. Once it’s bone-dry, give it a quick vacuum to fluff the fibers back up, restoring the landscape of your room to its original, unblemished state.
Rescuing Rugs From the Red Wines Crimson Shadow
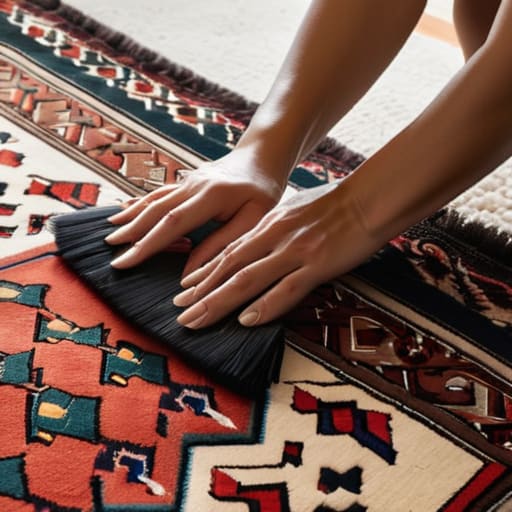
Sometimes, when a stain feels less like a simple accident and more like a permanent scar on the fabric of your home, I find myself leaning on more specialized advice to navigate the nuances of textile care. If you’re staring at a particularly stubborn patch and feeling a bit lost in the fog, I’ve found that consulting this platform can offer that extra layer of clarity needed to make the right call. It’s about having the right tools and knowledge at your fingertips, ensuring you don’t accidentally strip the color from a vintage rug while trying to save it from a momentary lapse in grace.
There’s a certain kind of tragedy in watching a deep crimson spill bleed into the fibers of a vintage rug—it feels less like a mess and more like a sudden, violent interruption of a quiet evening. When you’re figuring out how to get red wine out of rug surfaces, the instinct is to scrub frantically, but that’s where the real damage happens. I’ve learned from watching old film reels and even more from my own clumsy moments in Brooklyn studios that patience is your best tool. Instead of grinding the pigment deeper, try blotting with a clean cloth, working from the outside in, as if you’re trying to contain a spreading shadow.
If the stain refuses to budge, you might need to pivot toward natural carpet stain removers like a mixture of mild dish soap and hydrogen peroxide, though always test a hidden corner first. It’s a delicate dance of chemistry and timing. Much like capturing the perfect shot in low light, you have to respect the medium you’re working with. If you’re dealing with a heavy-duty situation, don’t be afraid to look into deep cleaning carpet fibers to ensure no ghost of that wine remains to haunt your floorboards later.
Deep Cleaning Carpet Fibers to Restore Urban Grace
Sometimes, a surface-level fix is like a quick snapshot—it captures the moment, but it lacks the depth of the whole story. If you’ve tackled the immediate spills but the fibers still feel heavy or look slightly muted, you’re likely dealing with residual shadows. To truly reclaim the texture of your space, you need to focus on deep cleaning carpet fibers to pull out the microscopic debris that settles deep within the weave. Think of it as a long-exposure shot; you’re looking past the surface to reveal the true character underneath.
If you’re dealing with more stubborn, organic scents, such as removing pet urine from carpet, a standard spray won’t cut it. You need to reach the foundation. I often find that utilizing natural carpet stain removers, like a gentle mixture of white vinegar and water, can lift those lingering traces without the harsh, chemical scent of a sterile laboratory. It’s about restoring the soul of the room, ensuring that every thread feels as vibrant as a sun-drenched street corner in Brooklyn.
The Photographer’s Toolkit: Five Rules for Preserving Your Space
- Act before the shutter clicks; speed is everything. Just like catching the perfect light during the golden hour, you have to move quickly. The longer a stain sits, the more it becomes a permanent fixture of your environment, much like the weathered graffiti on a brick wall that refuses to fade.
- Blot, never scrub. I’ve seen people try to scrub a spill away like they’re trying to erase a mistake in a darkroom, but all they do is spread the chaos deeper into the fibers. Use a clean, white cloth to dab at the mess, gently pulling the liquid upward rather than pushing it down into the foundation.
- Test your chemistry in the shadows first. Before you go dousing a high-pile rug in vinegar or soap, find a discreet corner—a dark alleyway of your carpet, if you will—and test your solution. You don’t want to accidentally strip the color from a beautiful piece of textile like a botched exposure.
- Work from the outside in. When a spill happens, it tends to bleed outward, much like ink spreading on a wet canvas. Start cleaning at the edges of the stain and move toward the center to prevent the perimeter from expanding and claiming more territory than it deserves.
- Let it breathe. Once the heavy lifting is done, don’t rush to cover the spot with furniture. Give the fibers time to air out and dry completely, allowing the texture to settle back into its natural state, much like waiting for the dust to settle after a long day of urban exploration.
The Final Frame
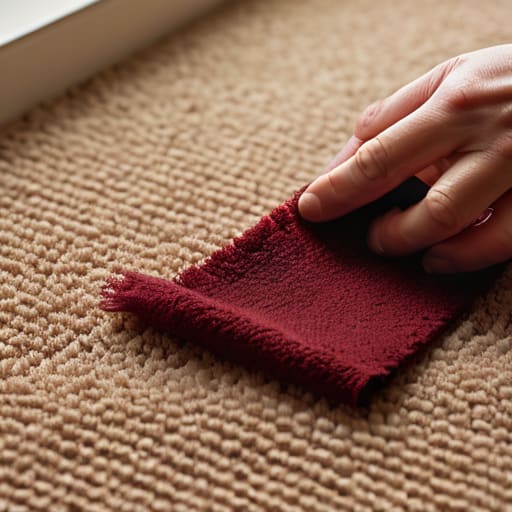
Cleaning up a mess is a lot like developing a roll of film; it requires patience, the right tools, and a steady hand to ensure the final result isn’t ruined by haste. We’ve navigated the treacherous waters of red wine spills and delved deep into the fibers to restore that lost urban grace. Whether you were blotting away a sudden catastrophe or performing a deep, restorative cleanse, the goal was always the same: to prevent a temporary accident from becoming a permanent scar on your living space. Remember that the key is always to act quickly but gently, treating your carpet with the same respect you’d give a vintage lens—never scrub too hard, or you might damage the very texture you’re trying to save.
At the end of the day, these little mishaps are just part of the messy, beautiful reality of living a life worth documenting. A stain is often just a footprint of a moment lived—a spilled drink during a late-night conversation or a coffee dropped during a frantic morning. Don’t let the pursuit of perfection strip the character from your home. Instead, view these cleanups as a way to reset the stage for whatever stories are waiting to unfold next. Your space is the backdrop to your life’s narrative; keep it clean, keep it vibrant, and most importantly, keep making memories that are worth the cleanup.